Bonjour à tous !
Aujourd'hui a été une journée riche en émotions au Global Summit, et je suis impatiente de partager avec vous les moments forts de cette dernière journée incroyable !
Dès le matin, notre stand de la Communauté des Développeurs a été le centre d'attraction de nombreux visiteurs enthousiastes.
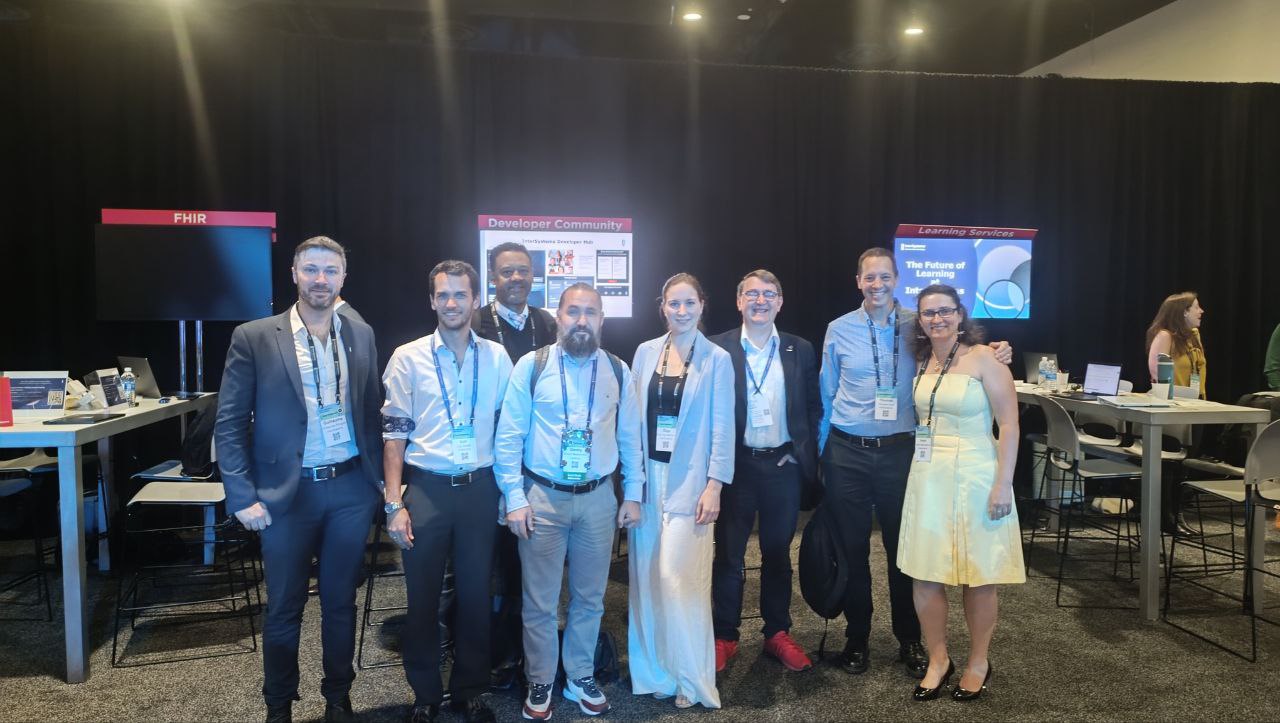
@Guillaume Rongier, Luc Chatty, @Raj Singh, @Dmitry Maslennikov, @Olga Zavrazhnova, @Lucian ROTAR, @Thomas Dyar, @Irène Mykhailova
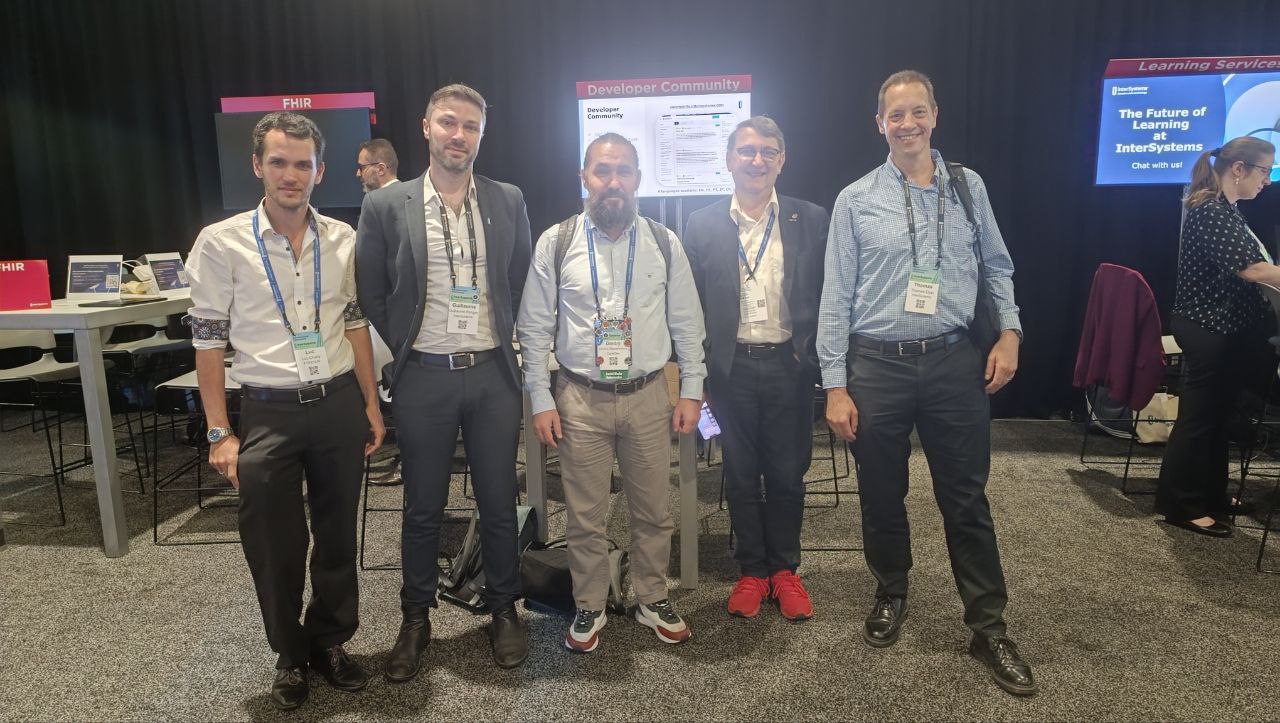
Luc Chatty, @Guillaume Rongier, @Dmitry Maslennikov, Lucian Rotar, @Thomas Dyar
Voici notre équipe de Relations avec les développeurs présente au Global Summit qui fait de l'écosystème des développeurs un endroit formidable.
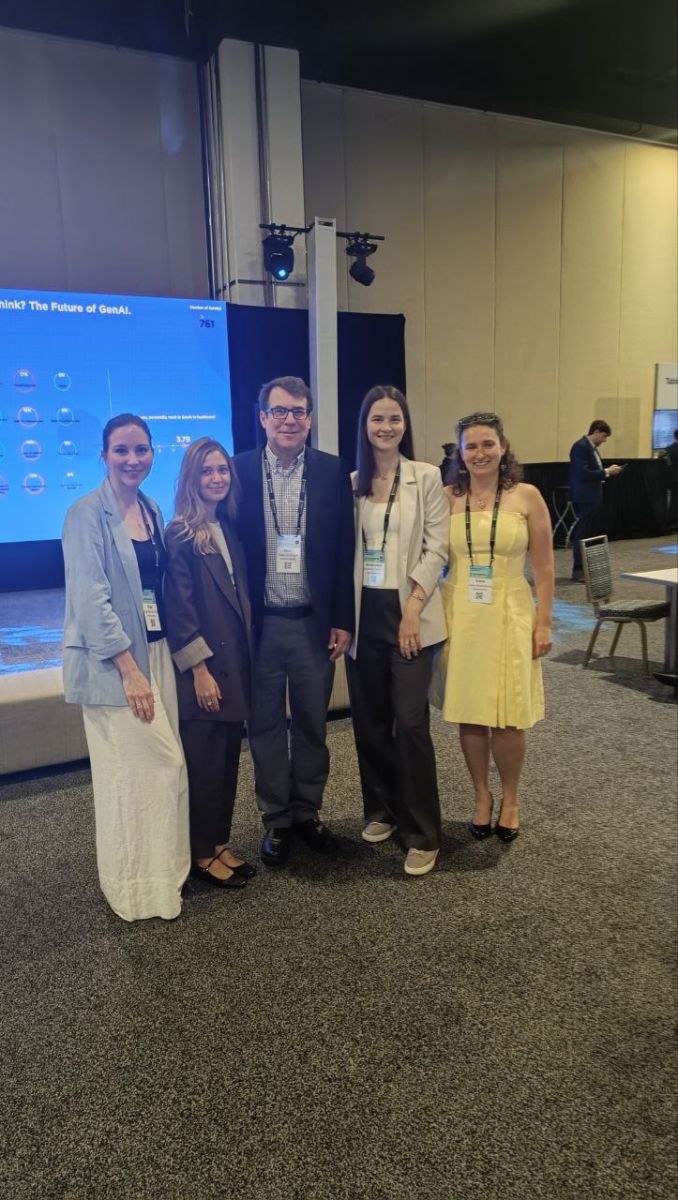
@Olga Zavrazhnova (Global Masters), @Vita Tsareva (Caelestinus), @Dean Andrews (chef du DevRel), @Anastasia Dyubaylo (Developer Community), @Irène Mykhailova (Developer Community)
Et bien sûr, notre équipe française qui anime la communauté des développeurs en français (avec un ami).
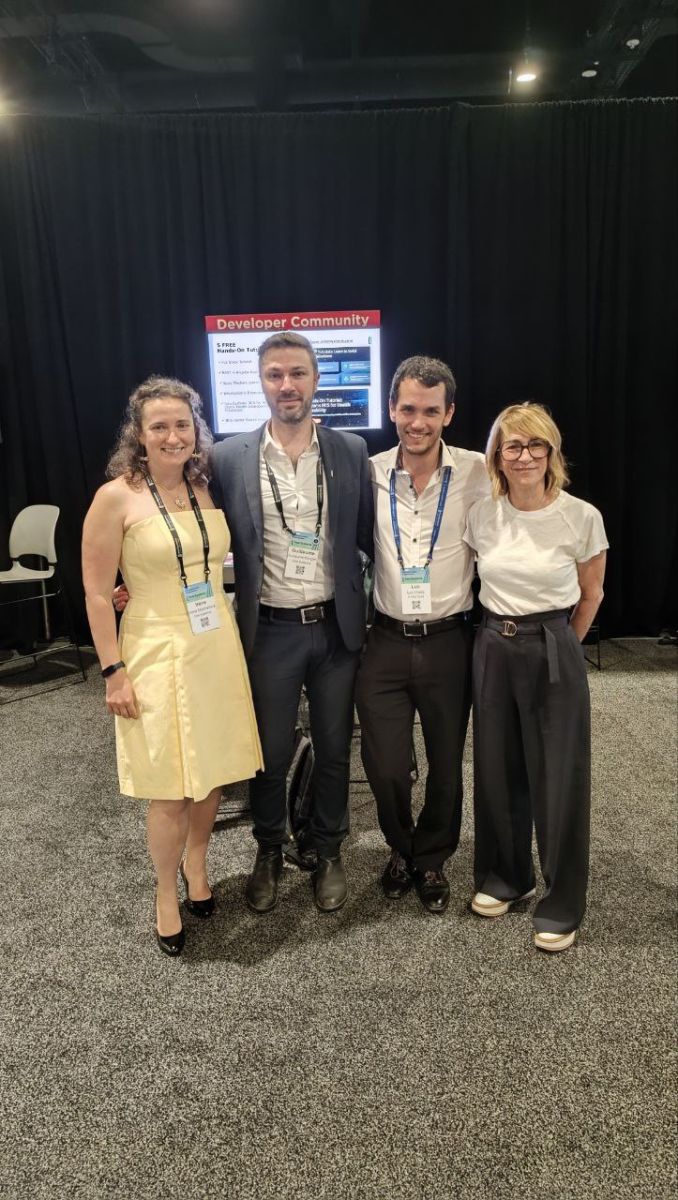
@Irène Mykhailova, @Guillaume Rongier, Luc Chatty, @Adeline Icard
À la fin du Global Summit, il était temps de dire au revoir. Les sessions étant terminées, tout le monde s'est réuni pour échanger une dernière fois et se dire au revoir. Les adieux étaient empreints de promesses de se retrouver lors du prochain Summit. Les sourires, les accolades et les échanges chaleureux ont témoigné de la réussite de cet événement et de la force de notre communauté.
Merci à tous ceux qui ont participé et contribué à faire de ce Global Summit une expérience exceptionnelle. Restez connectés, et rendez-vous au prochain Summit pour encore plus de découvertes et d'innovations !
À bientôt et bon voyage à tous !